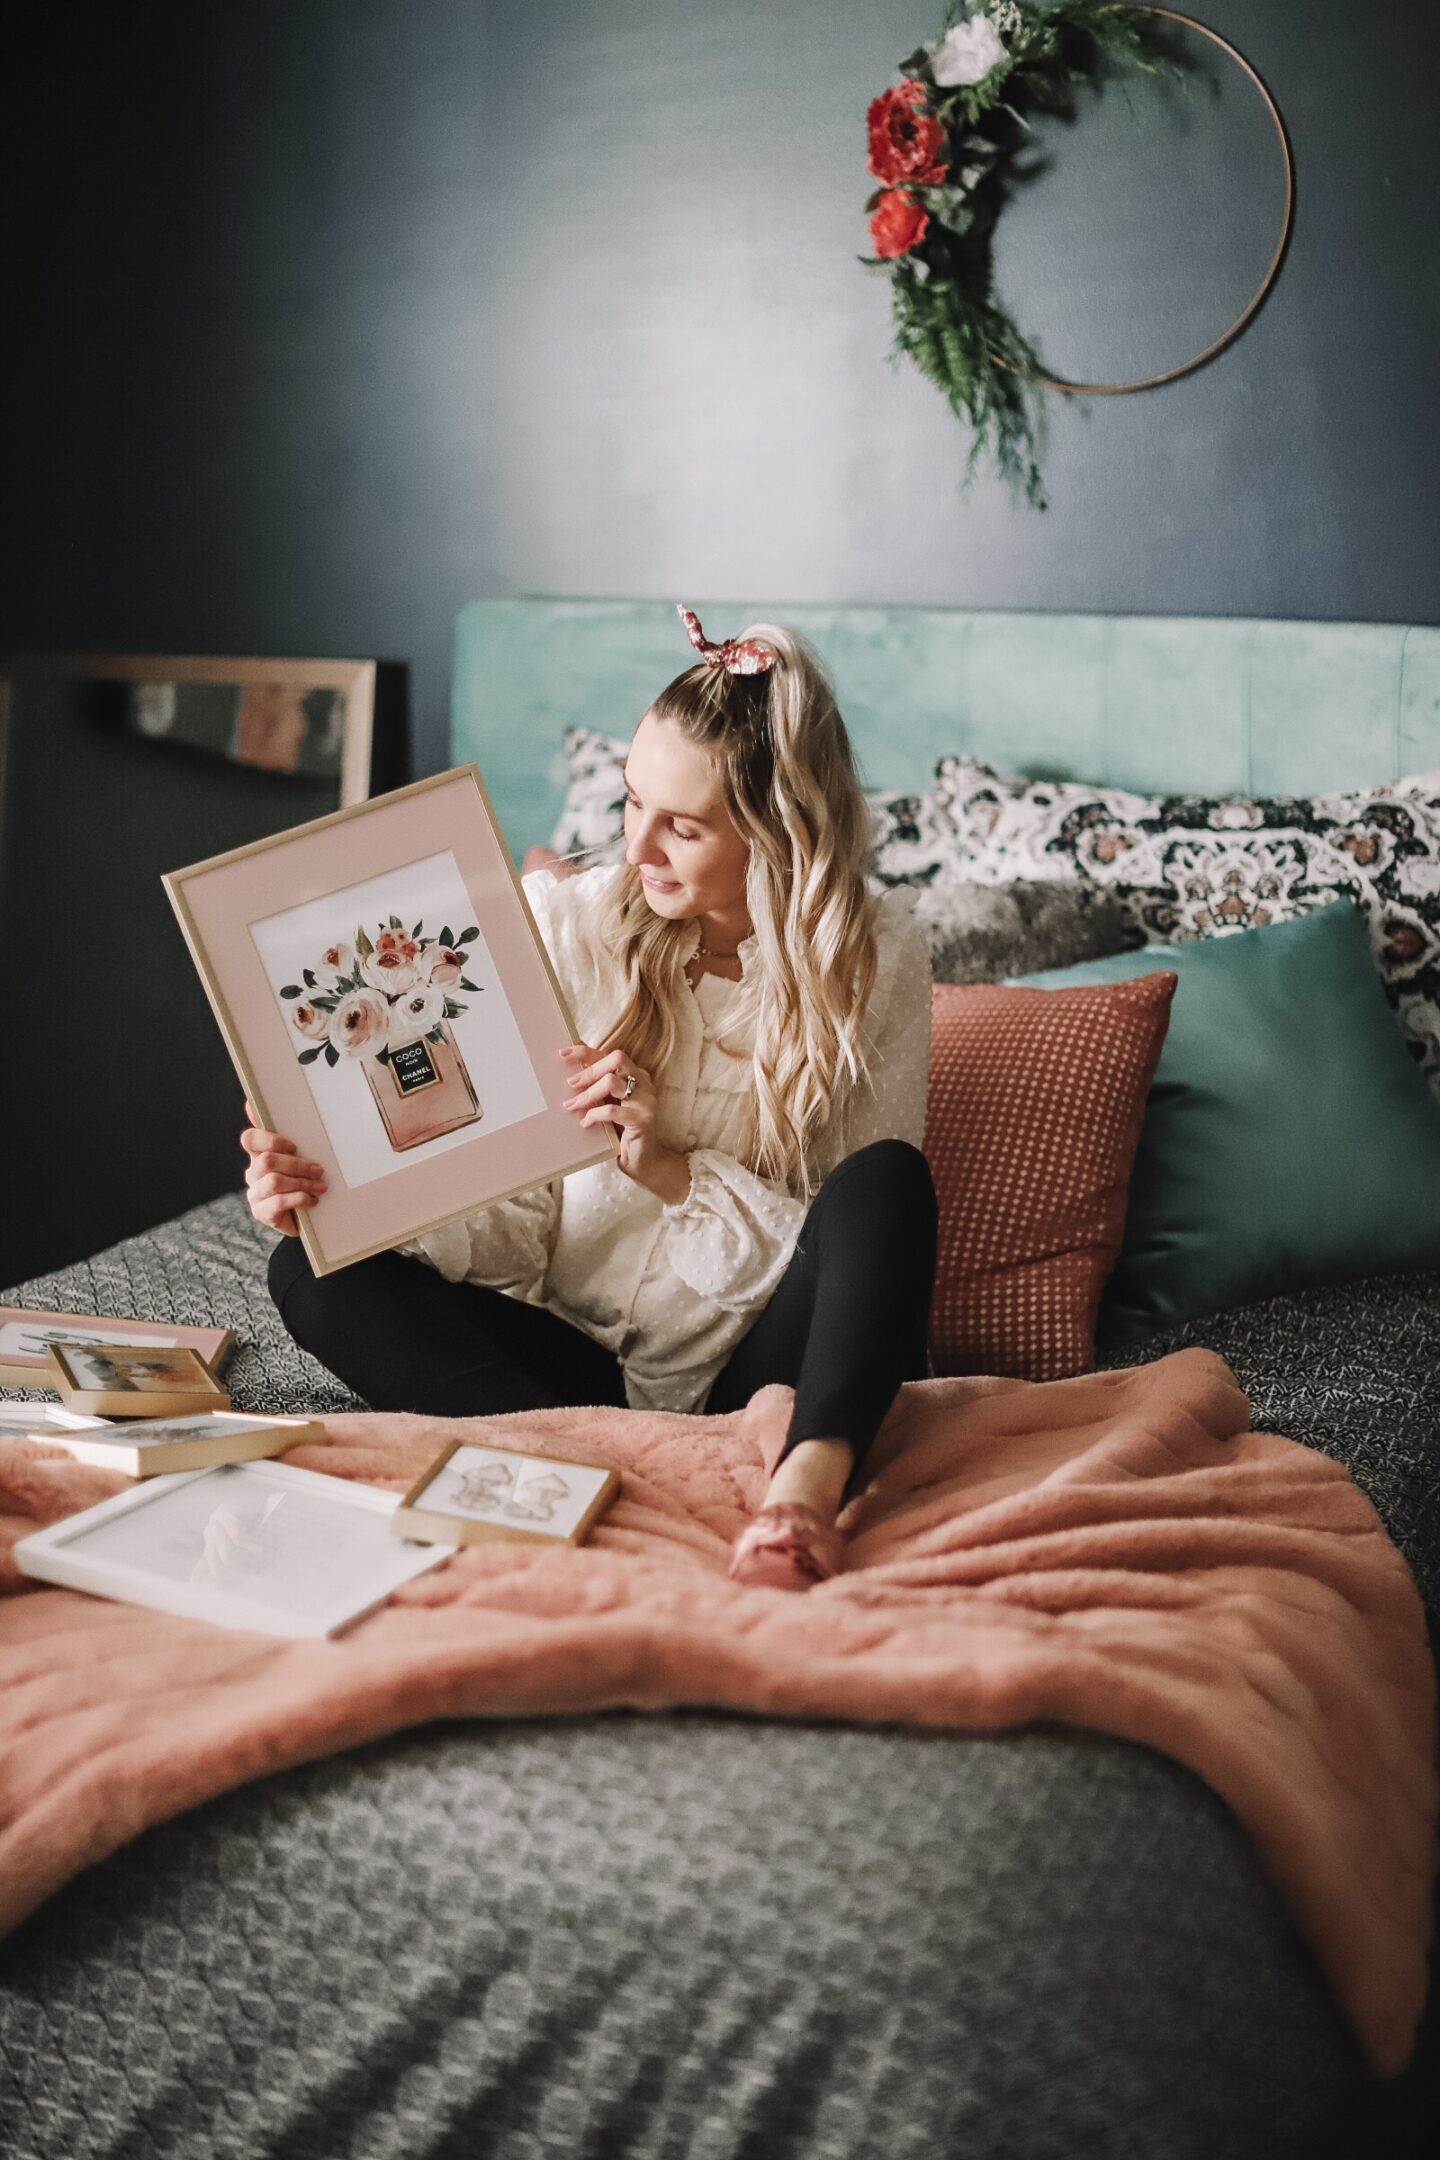
.easy framed art … a diy project.
today’s tutorial is seriously SO easy but it turned out amazing! 🙂
supplies needed …
two poster frames, a cute bag (we got our bag from Anthropologie, it’s just their shopping bag) 🙂 , scissors, nails, hammer and a level
– measure your bag from side to side and also from top to bottom 🙂 my bag is 20 in. x 20 in. and so that’s the size of frame I bought for this project. depending on if you want the image smaller, just cut the bag to fit your desired frame size.
– you will cut the back and front of the bags out and then place inside the frame 🙂 the back and front should be mirror images of themselves and that’s what we wanted for our wall in our kitchen
the image is angled but here’s one side done 🙂
here’s the finished product 🙂 this project looks so much more expensive than it really cost. the frames I got at Joann’s and were 50% off as well as I had an extra 20% off coupon, the bag (wasn’t totally free because we made a purchase 😉 but was still cheaper than buying a fancy print online!)
we love how this turned out and how it adds color in a sophisticated way to our kitchen 🙂
would you create a project like this?? 🙂 if so, which bag are you going to use?!!
thanks for stopping by 🙂


